How to Make Tie-dye Face Masks

Just because you have to wear a mask in public doesn’t mean your mask has to be boring! Have fun during lockdown with a project the whole family will love. You can tie dye plain cotton face masks using the food coloring in your pantry (or you can buy special clothing dye if you want richer tones) so the project might be done with items you already have on-hand.
Items you’ll need
- White cloth face masks (available online in packs of 20; ships same day from California!)
- Food Coloring (lighter colors) or Clothing Dye (darker colors)
- White vinegar
- Rubber bands
- Ziplock Plastic Bags large enough to fit a mask
- ½ c salt
Directions
Step 1:
Soak your cloth mask in equal parts water and vinegar for 30 min.
Step 2:
Roll up/twist/wrap your masks up into balls and secure them with the rubber bands.

Step 3:
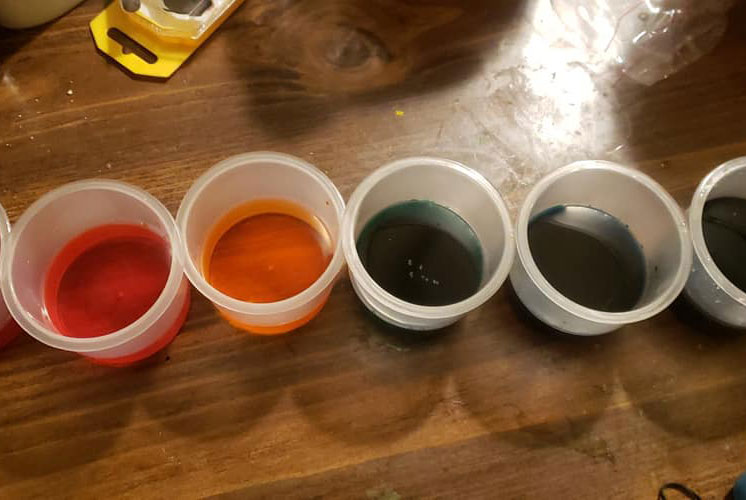
Mix 16 drops of your food coloring with 1/2 cup water for each color you would like to use. Use individual cups or glass jars.
Dip small sections of your mask ball in various colors, trying not to overlap colors much. You can leave sections white as well, to get that classic “tie dye” pattern.

Step 4:
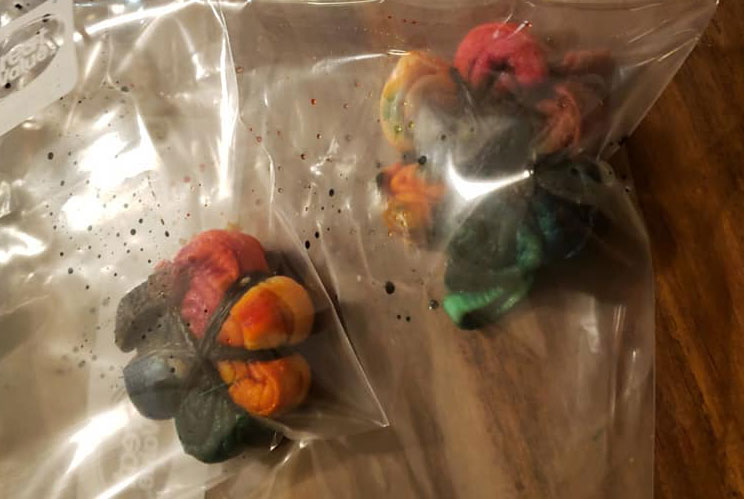
Place your masks in a plastic bag to help maintain the moisture as the dye sets. Allow the masks to set overnight.

Step 5:
The next day, take the mask(s) out of the bag, one at a time, and remove the bands. Pour salt and 1/2 cup water into a large bowl and mix well. Salt helps to “fix” the color. Plunge the masks into the salt water one at a time to set the dye and then wring them out. Rinse in clean water several times until the water runs completely clear—and be careful not to stain your clothes as the food coloring rinses off. Wring them out well and hang out to dry, preferably in the sun. (Hint: use several small bowls of salt water if the colors run too much, to avoid discoloring other masks.)
Step 5:
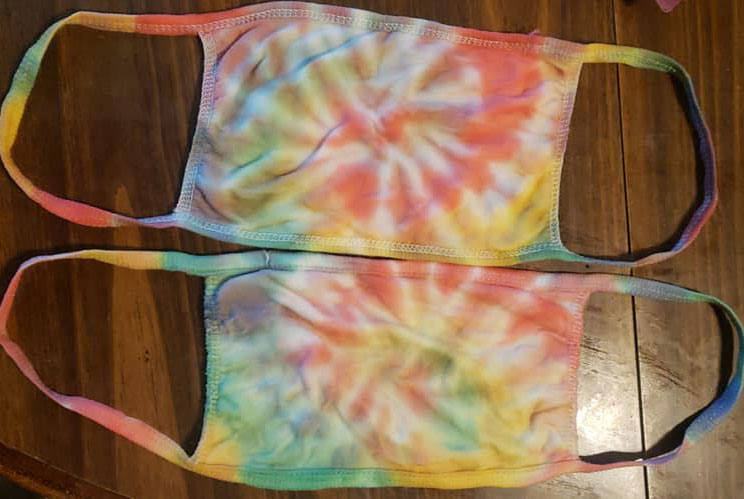
Admire your new tie-dye Masks!

Recent Posts
-
Disinfecting Surfaces in the Era of Covid and EPA Registered Commercial Disinfectants and Viricides
The disinfection of surfaces at home, in public spaces, and in hospitals and clinics needs to be a …15th Jan 2023 -
Working with Inorganic Acids in the Laboratory: A Practical Guide
Working with Inorganic Acids in the Laboratory Acids are of great importance in the laboratory and a …5th Jan 2023 -
The Top 12 Drinking Water Contaminants
1.Lead- from older plumbing systems pre-1986, when lead pipes, solder, and components were banned. …14th Dec 2022

